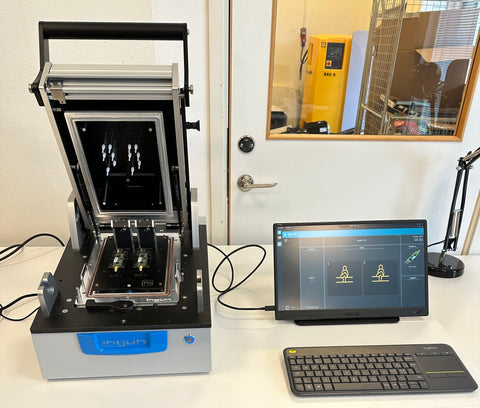
Connect AC to the fixture and power to the NUC on the back. USB Type-C cable to the display. Switch on the HotSpot on your phone, and you are good to go!
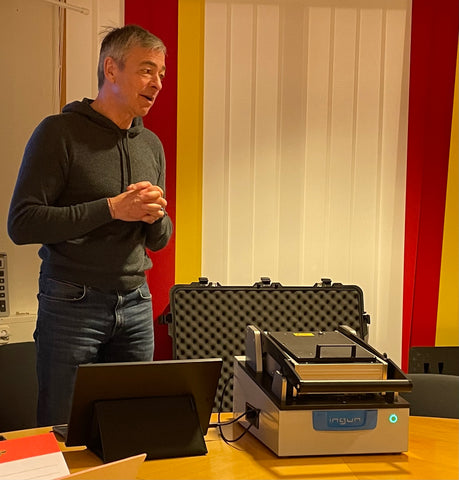
The demo went well, and everything worked! Mission accomplished!
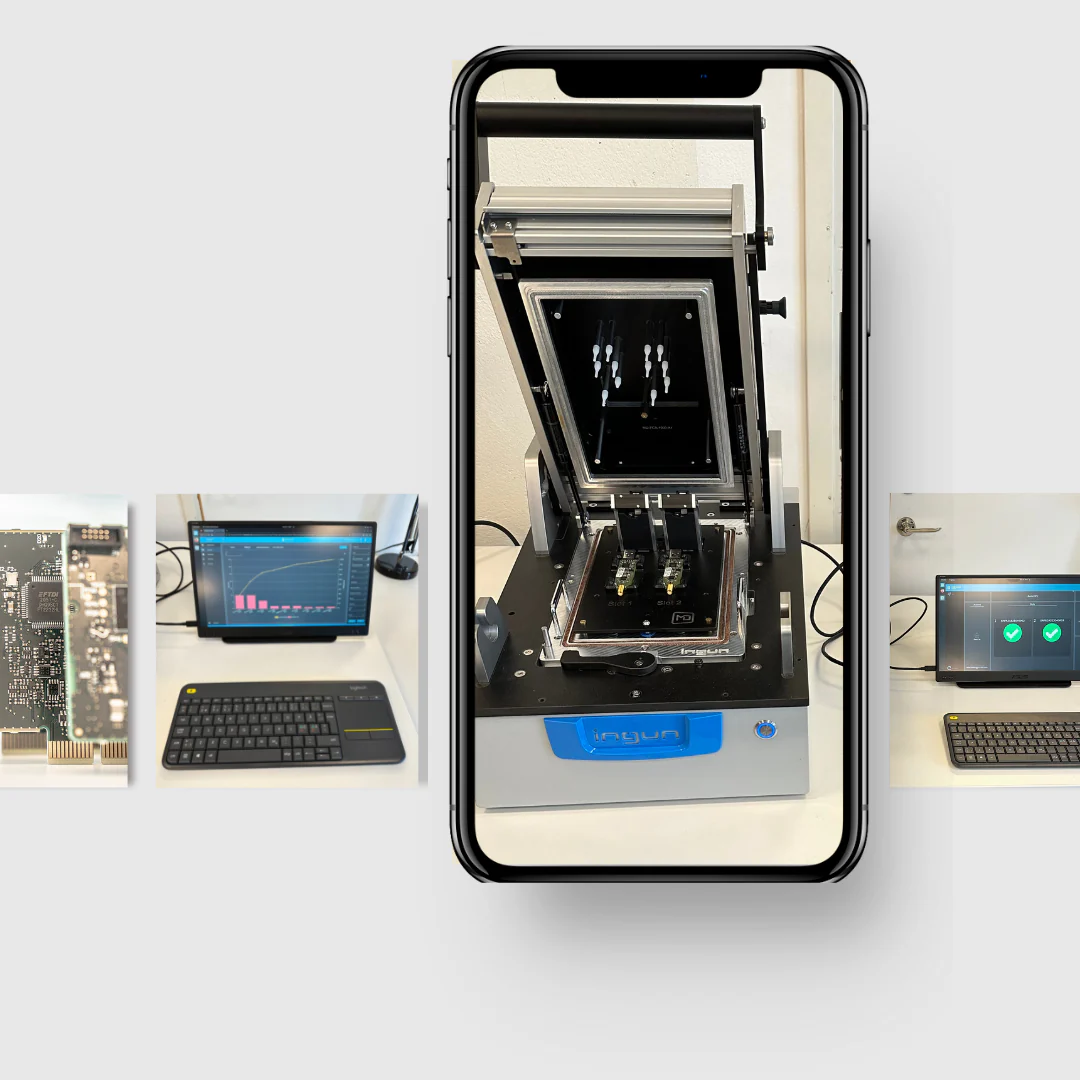
Everything is connected, close the lid, and the test will start!
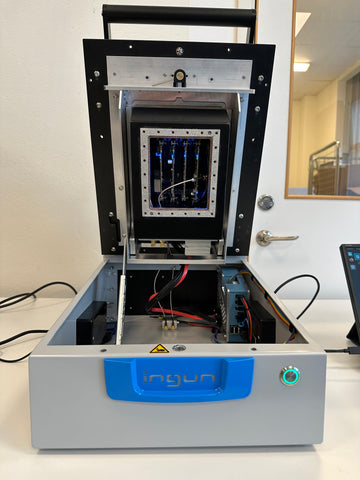
AtoMik®Instruments mounted inside the test fixture!
Warmed up and good to go!

Log on to the AtoMik®Portal and view the test results! Yield, Pareto at your fingertips!